
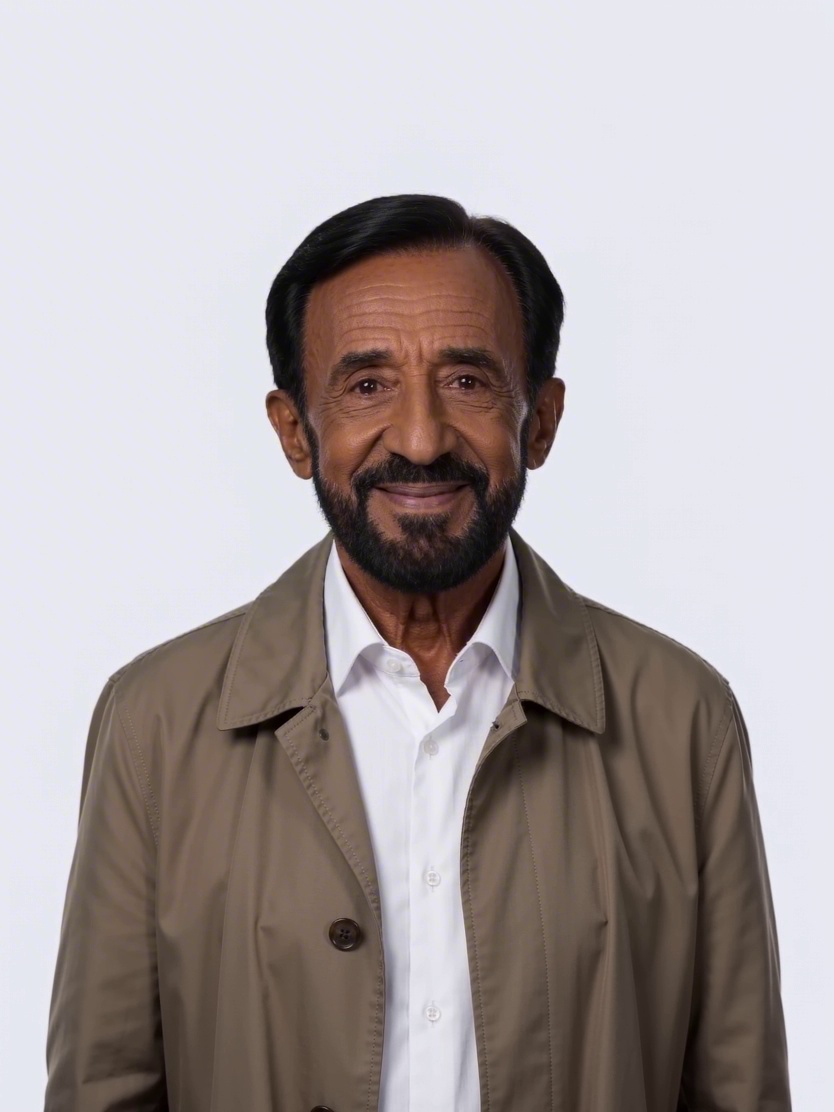
 3:4
3:4Executive portrait
A confident leadership portrait in a refined editorial style.
Business
Turn a written brief into an AI image using a model enabled for this workspace, then refine the composition one variable at a time.
Use a ready-made prompt direction, then make it your own.
3:4A confident leadership portrait in a refined editorial style.
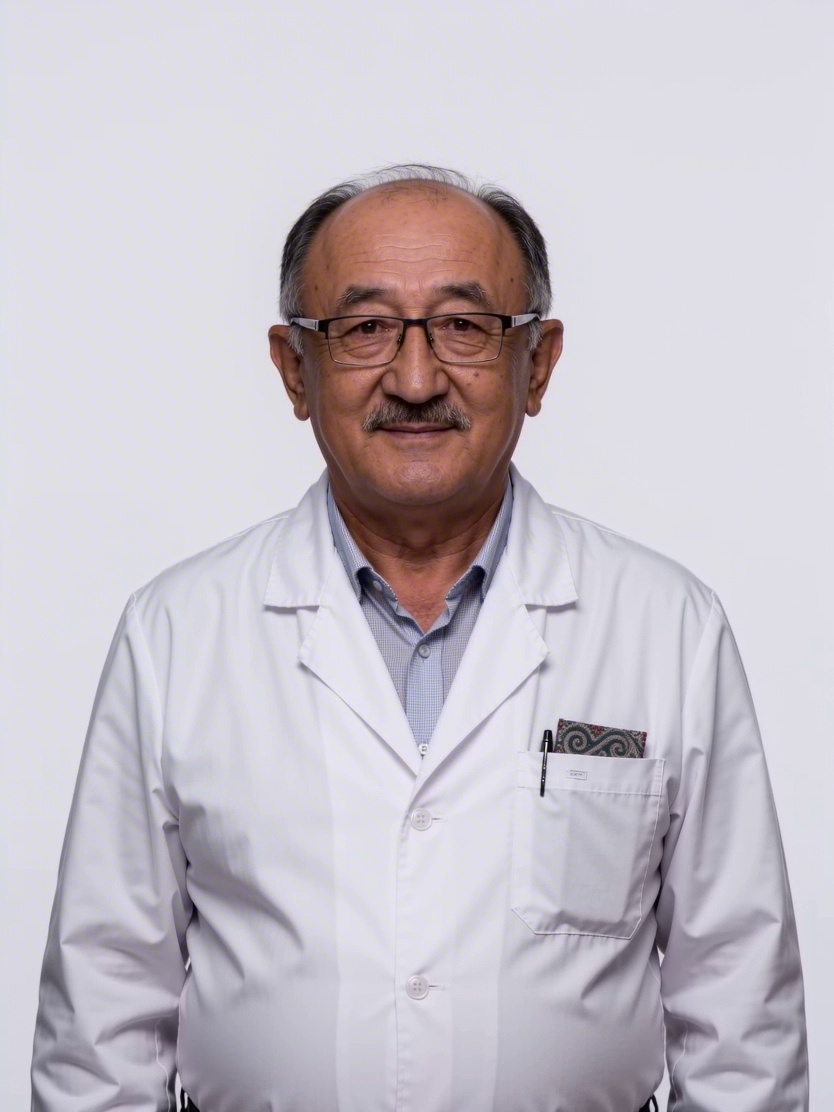 1:1
1:1A calm, credible healthcare portrait with clinical detail.
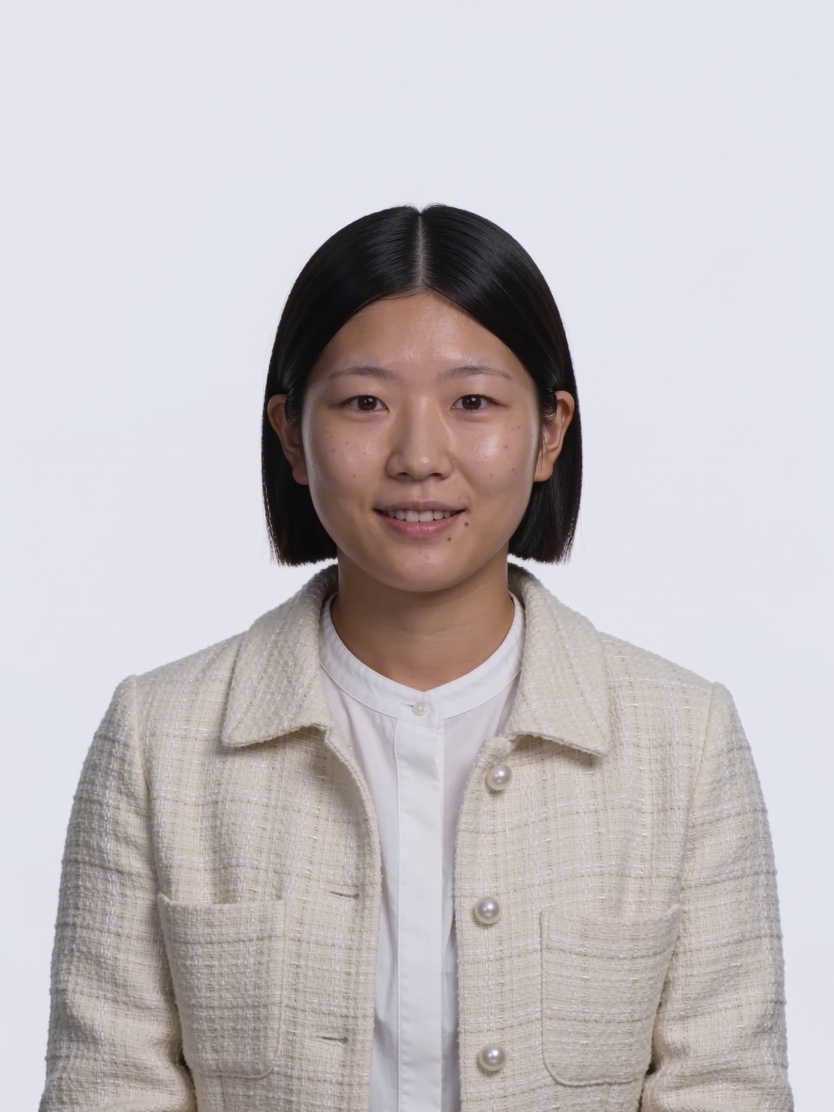 9:16
9:16An observant creative portrait with a documentary feel.
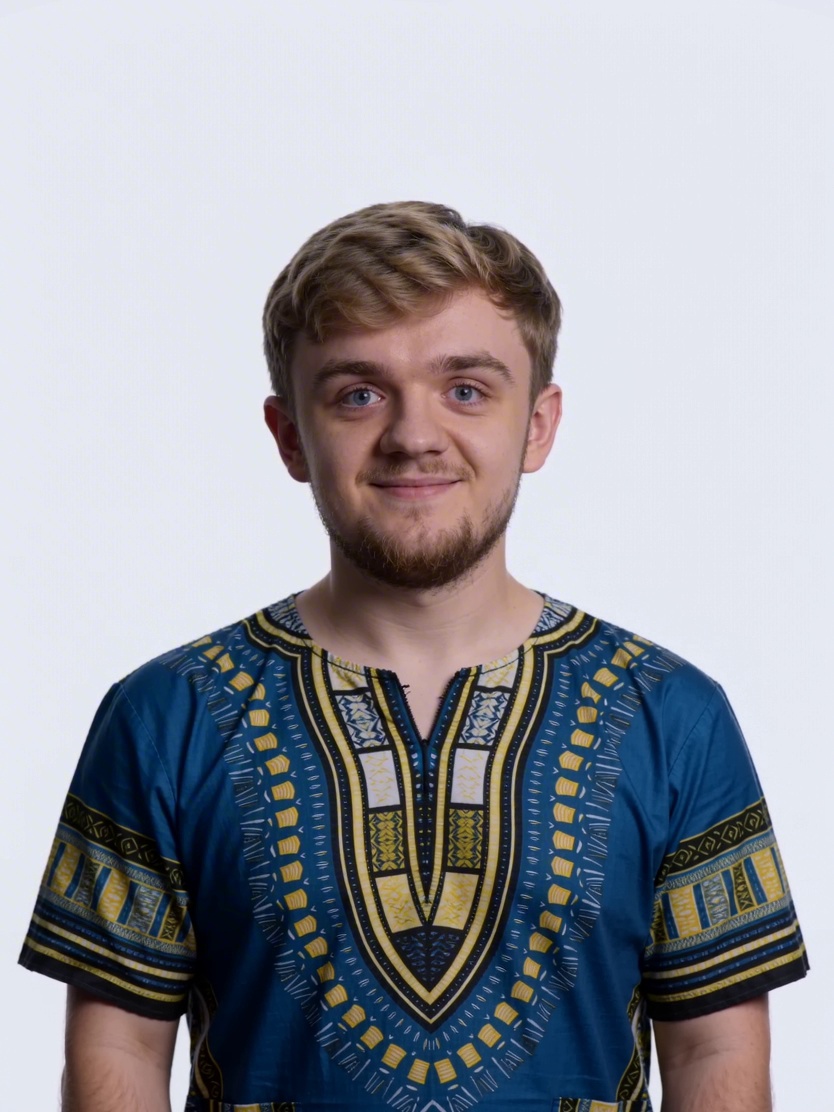 16:9
16:9A focused player portrait with energetic modern lighting.
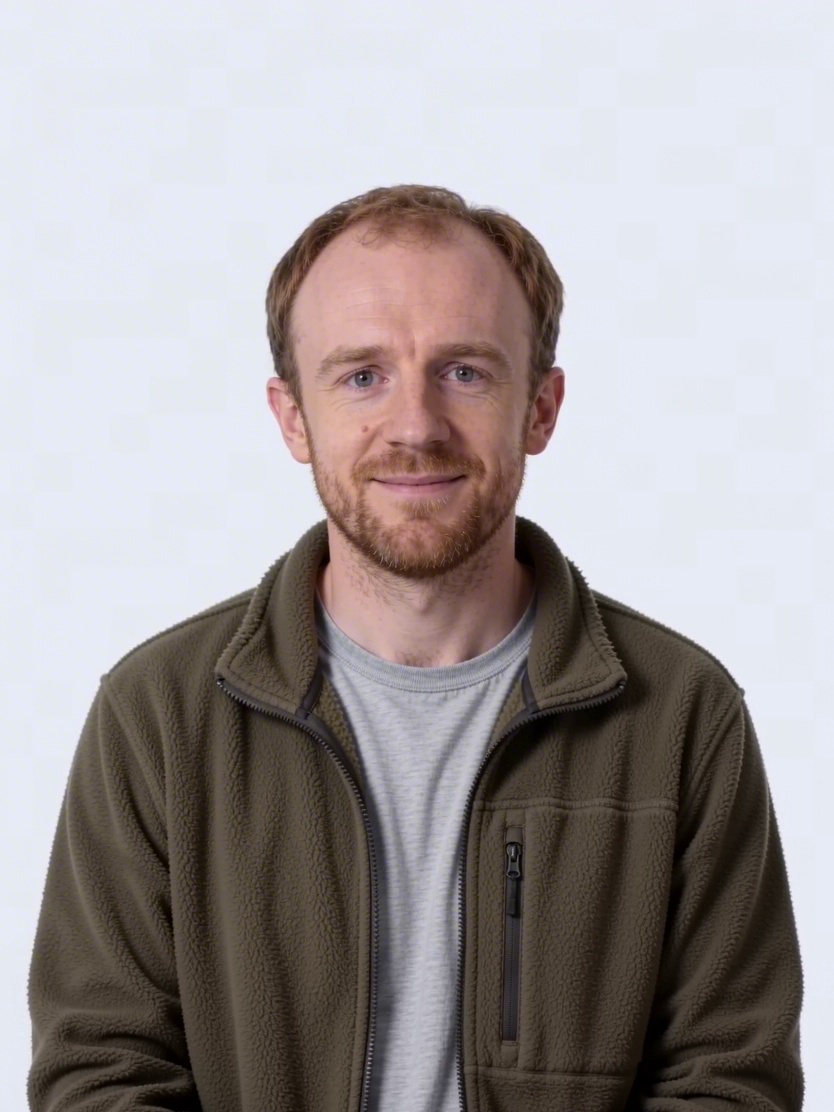 1:1
1:1A considered portrait for a design or studio profile.
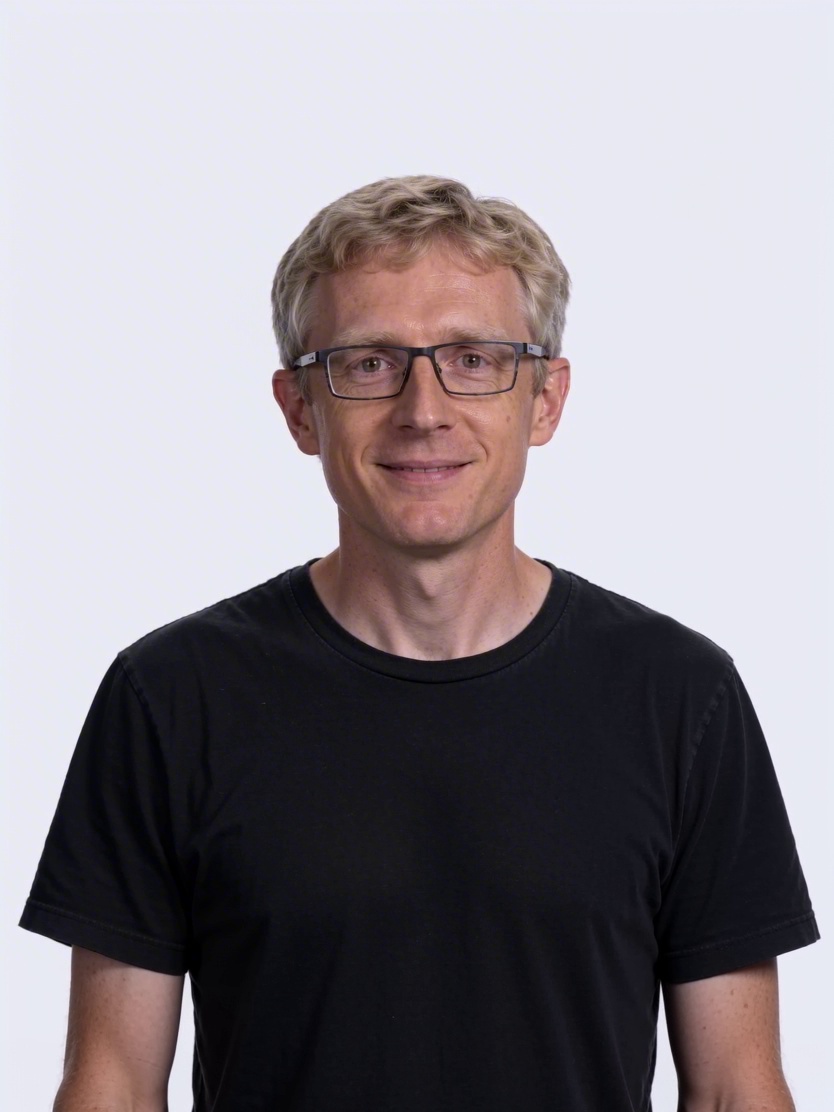 3:4
3:4A clear, curious science portrait with visual depth.
Text-to-image workflow
Use the image workspace to turn text into a visual brief, choose an enabled model and aspect ratio, and review the output against concrete requirements instead of vague style words.
Prompt formula
Primary subject + composition + environment + lighting + material and color details + intended use + details to preserve.
State what must appear, its important shape or identity details, and what it is doing. Put required information before atmosphere and decorative language.
Specify close-up, full body, overhead packshot, poster layout, or wide scene. Mention where empty space is needed for copy when the image will be used in an ad or landing page.
Keep approved details fixed while changing lighting, background, camera angle, or color separately. Small revisions make it easier to identify why an output improved or drifted.
Copy and adapt
Replace the subject and setting, but keep the role of each sentence: composition, action or material, camera or light, protected details, and final use.
“Front-facing studio packshot of a rectangular glass fragrance bottle with a matte black cap, centered on a seamless warm-white background. Soft key light from upper left, subtle grounded shadow, crisp edges, accurate transparent glass, no props or generated text.”
Why it works: Geometry, material, camera, light, and exclusions are all concrete.
“Wide 16:9 hero image. A creator at a clean desk occupies the right third in soft window light. Keep the left 45 percent as an uncluttered warm-gray wall with low contrast for a two-line headline and button. No generated text.”
Why it works: The composition is designed around a real layout instead of cropped afterward.
“Preserve the same oval face, blunt black bob, silver ear cuff, rust-red jacket, and body proportions from the reference. Place the character on a rainy elevated train platform at blue hour, medium shot, cool overhead light. Change only the environment.”
Why it works: A fixed identity block is separated from the requested scene change.
“Overhead editorial photograph of a ceramic bowl of noodles on a dark oak table, three supporting ingredients arranged with generous spacing, soft daylight from the left, realistic steam, restrained color palette, vertical 4:5 crop.”
Why it works: Shot angle, arrangement, light, material, and crop guide the full composition.
Troubleshooting
Save the last successful output, change one instruction, and compare the result against a specific failure rather than rewriting the entire creative brief.
Replace mood words with concrete subject, material, camera, lighting, and intended-use details.
Name the aspect ratio, subject position, shot size, and exact area that must remain quiet for copy.
Use a clean reference, protect the fixed region, and change only one scene variable at a time.
Keep an explicit preservation block and rewrite only the failed attribute instead of the whole prompt.
Write a prompt that names the subject, composition, setting, light, and required details; select an enabled model and aspect ratio; then generate and revise only the parts that missed the brief.
A product packshot, editorial portrait, poster, and social thumbnail need different framing and negative space. Naming the use gives the model a clearer composition goal.
The model selector is managed by the workspace configuration. The guides explain model-specific prompt techniques without implying that every model is enabled at all times.
Specify the final aspect ratio, place the subject in one visual third, and describe the copy zone as a low-detail area with suitable contrast and no generated text.
List the details that must remain unchanged, identify one failed attribute, and change only that attribute. This makes each revision easier to compare.