
Consistent AI Characters: From Portrait Reference to Full-Body Scene
Expand an AI character from a portrait into full-body scenes while preserving face, hair, body proportions, wardrobe, and signature details.
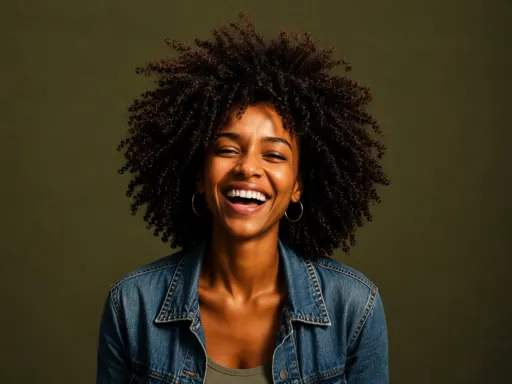
Ready to test the method? Build your next text-to-image prompt.
A portrait contains strong facial evidence but little information about height, body proportions, clothing below the shoulders, footwear, or posture. Asking for a distant action scene in one step forces the model to invent most of the character. Build a reference ladder instead.
Record a short identity card
Write down the stable face shape, approximate age, eye and brow relationship, hair silhouette, skin details, signature accessory, core wardrobe colors, and overall build. Keep this identity block separate from scene instructions so it can be reused.
For example: “Same adult woman, oval face, wide-set dark eyes, straight brows, chin-length black bob with blunt fringe, silver ear cuff, rust-red field jacket, medium athletic build.”
Step one: create a three-quarter portrait
Use the original portrait as the anchor. Change only the camera angle: “Preserve exact facial identity, age, hair, ear cuff, and jacket collar. Create a natural three-quarter left portrait with the same crop and soft neutral light.”
Approve this view only after eye spacing, jaw, nose, hairline, and accessory remain recognizable.
Step two: expand to a waist-up image
“Use the approved character reference. Preserve face, hairstyle, ear cuff, jacket construction, and body build. Expand the framing to waist-up, relaxed standing posture, arms visible at the sides, simple neutral studio background, even light.”
A neutral background makes new body and clothing details easier to inspect.
Step three: define the full outfit
Create a straightforward full-body reference before an action scene. State garments, lengths, colors, footwear, and any repeated prop. Keep the pose simple: standing with weight distributed naturally and both hands visible.
Save front and three-quarter versions. These images become evidence for future wide shots where the face occupies fewer pixels.
Step four: add a simple pose
Change one body action while keeping camera and environment stable: walking one step, leaning against a wall, sitting on a stool, or reaching for a large object. Avoid complex crossed limbs and hidden hands in the first pose test.
Prompt example: “Keep the approved character and outfit unchanged. Show her taking one natural step forward in a medium-full shot. Preserve limb proportions, jacket length, boots, and facial identity. Neutral studio, locked camera.”
Step five: move into the real environment
Once portrait, waist-up, full-body, and simple pose references agree, add location and lighting. Keep the identity block first: “Use the same approved character with unchanged face, bob haircut, ear cuff, rust-red jacket, black trousers, and ankle boots. Place her on a wet elevated train platform at blue hour, medium-wide view, cool overhead light, realistic reflections.”
Do not change wardrobe, pose, lens, location, and dramatic light simultaneously unless the approved references already cover those views.
Protect proportions at wider framing
As the character becomes smaller, silhouette and clothing carry more recognition. Record jacket length, shoulder width, trouser shape, footwear, and height impression. Ask for natural anatomy and a grounded stance rather than using only facial constraints.
Build a continuity board
Place all approved stages in order: front portrait, three-quarter portrait, waist-up, full-body front, full-body three-quarter, simple action, and final scene. Compare face, hair, body build, garment construction, colors, and accessories. Remove a stage that introduces drift instead of using it as the next reference.
Prepare the final still for video
Choose a full-body image with clear limbs, stable face, readable environment, and room in the direction of motion. Begin animation with one modest action. The reference ladder cannot guarantee video consistency, but it reduces the amount of unseen character information the motion model must invent.
Consistent characters are produced through approved transitions, not one heroic prompt. Expand framing gradually, define missing information in neutral conditions, and add the final scene only after the character survives each intermediate view.